Friday, 30 May 2014

Spring Poppet

Hi Everyone!
Not sure where these weeks are going to, but they are definitely flying by fast! So here is a quick post to share another Faerie Poppets card using images and papers from the Faerie Poppets CD by Crafter's Companion.
I decided to go with a Spring-like colour scheme of yellows and greens. I embossed one of the papers with the Darice Honeycomb folder, and created my own flower embellishments using the Die'sire 'Bliss' quilling flower die and leaves - the centres of the flowers were made with micro beads. The Ribbon border was printed from the CD and I added a little flourish of green ribbon and square cut gems to finish.

Hope you like my card. I'd like to enter it into the Crafty Creations Challenge which this week is 'All About S - my choice is Spring.
Thanks for popping by!
Best wishes
Karen x

Products used:
Faerie Poppets CD Toppers Design 2
Design Sets – Design 5 Background Paper Colour 2
Design Sets – Design 12 Paper Colour 2
Embellishments – Design 5
Co’ordinations Cardstock for matting and layering
Die’sire Blissful Flower
Die’sire Leaf 2
Darice Honeycomb Embossing Folder
Micro-beads, Ribbon, Gems, Stickles

Collall All Purpose and Glue Gel

Thursday, 22 May 2014

You're in for a Treat - Halcyon Days!

Are you ready for the Weekender Deal on Create and Craft? Launching on Saturday morning, Sara Davies from Crafter's Companion will be introducing their latest CD and papercrafting kit called Halcyon Days.
Packed with pretty toppers, papers and embellishments in pastel colours with a slightly shabby chic feel, there are images that can be used for all occasions.


Here is my sneak peek of a little basket I made, decorated with one of the topper images which features a chocolate shop, along with matching papers from the CD. I then created a handle cut with one of the Die'sire border dies, before adding ribbon, flowers and a sentiment... all ready to fill with chocolates for a little birthday treat!


Don't forget to tune in on Saturday to Create and Craft TV to find out more!
Best wishes
Karen x

Products required:
Halcyon Days CD
Centura Pearl Card
Silver Mirror Card
Die’sire Lace Border 4
Darice Honeycomb Embossing Folder
Two Brads
Corner Rounder Punch
Ribbon, Flowers, Pearls
Collall All Purpose Glue and Glue Gel


I'd like to enter this project in the following challenges:


Wednesday, 21 May 2014

A Faerie Poppet

Afternoon All!
Back today with a card I made for one of  the lovely Dawn Wheeler's German Shopping Channel shows using the Faerie Poppets CD from Crafter's Companion. I love this particular fairy and decided to pull out some of the red in the image when choosing my backing paper from the CD.

I matted her up onto red, white and black card, embellishing the card with PVA glue dots to create a border before adding home-made die cut flowers, red satin ribbon and Stickles.

Hope you like my latest card - I'm hoping to enter it into the following challenges:
ABC Challenge - Lots of Layers
Crafty Creations - Recipe Challenge Use at least two of the following - Flowers, DieCut, Ribbon or Purple
Crafty Little Fairies - In the Garden
Cute Card Thursday - Handmade Embellishments (my flowers)

Thanks for looking!
Best wishes
Karen x

The products I used were:
Toppers Design 2
Design Sets – Design 4 altered colour with Colouriser.
Black and Red Cardstock for matting
Centura Pearl Card
Flower and leaf die cut from Design Set papers.
Red satin ribbon.
Collall All Purpose and Glue Gel
Burgundy and Gold Stickles

Black Cosmic Shimmer Pearl PVA


Sunday, 18 May 2014

Barkley Twisted Easel

Morning All!
Just back with a little post to share a twisted easel card I made. I needed a quick, non-fussy card for a male birthday...so this is what I came up with.

I chose a topper from the Barkley papercrafting kit from Crafter's Companion of Barkley the dog relaxing in a wheelbarrow, and teamed it with the pastel green inserts to use as backing papers, cutting the triangular corner elements to add interest to the card. I layered all my papers onto an embossed matt silver card stock before adding a sentiment and Card Candi to finish.

Hope you like this quick and easy twisted easel card. I hope to enter it into the following challenges:
Papertake Weekly - Pastels
Moving Along with the Times - Heard it on the Radio - Easy Like Sunday Morning by Lionel Ritchie

Thanks for popping by!
Best wishes
Karen x

Fab News!

Hi All!
Just a quick post to say that I was so chuffed to have my Blue Butterfly card featured on the Spectrum Noir blog!
Many thanks to them for showcasing my work - you can see the details here. I hope it encourages you to give the new Spectrum Noir blendable pencils a go!


Thursday, 15 May 2014

Glorious Gladioli

Hi Everyone!
Back today with another card I made using one of the digi stamps from the Spectrum Noir Intermediate DVD from Crafter's Companion.

This time I used the gladioli and coloured them with my Spectrum Noir pencils. As well as trying to colour the flowers realistically, I wanted to show that with a detailed coloured image, you don't always need to add lots of embellishments to show off your work - it is just a matter of choosing backing papers that help to push your image forward and help make it pop off the page. Hopefully, I have done this with these Bo Bunny papers from the older 'Vicky B' range, teamed with brown cardstock and a small piece of mirror card!


I then decorated the inside to match, cutting the front of the card slightly shorter than the back so that the border sticker/paper can be seen slightly and add a little more detail and dimension, before finishing off with a sentiment sticker and gems.

Hope you like this latest card. I  loved colouring it with the pencils. I have included the colours I used below:
013, 005, 033, 025, 026, 027, 044, 057, 059


Best wishes and bye for now
Karen x

Wednesday, 14 May 2014

Camden Town Criss Cross Card

Hi All!
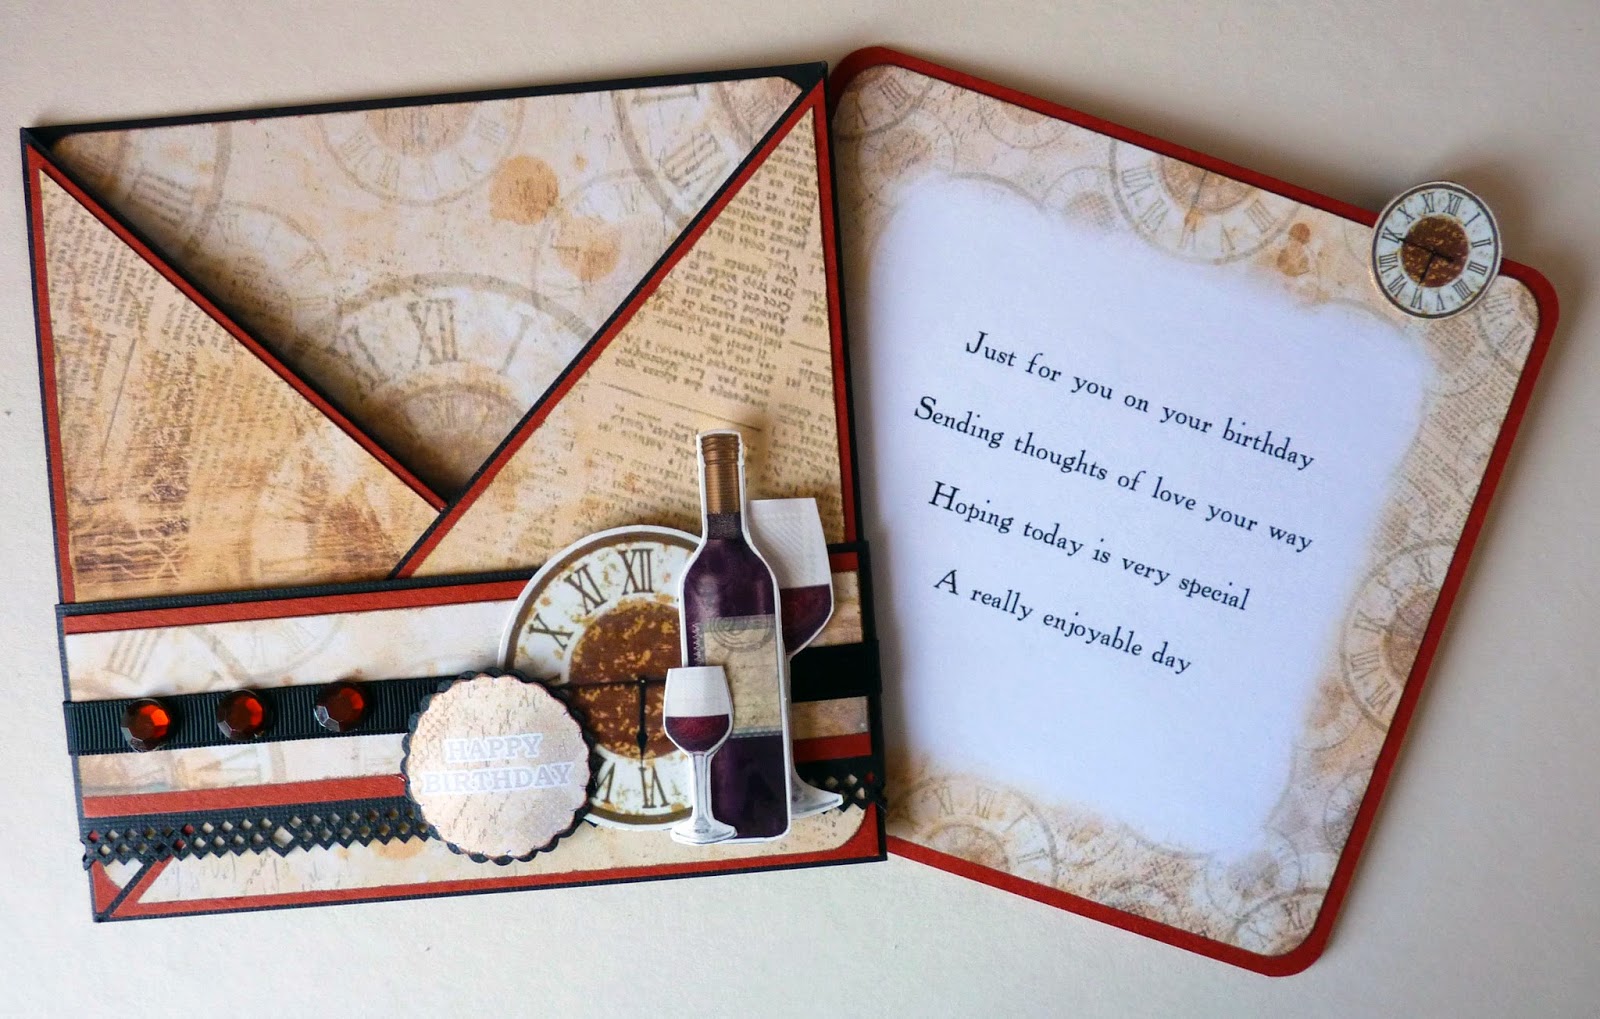
Back today with a card featuring the fab images and papers from the Crafter's Companion Camden Town Male CD.

This time I made a criss cross card with an attached belly band which allows to you to add in a gift card to the back.

The card which slots inside has one of the inserts from the CD printed on the back and for the image on the front I used one of the Card Companions, layering up the bottle and covering it with Glossy Accents. Before I added the final bottle layer I bent the dried Glossy Accents to give the bottle a crazed glass effect to look a bit vintage - that was the idea anyway lol!


To decorate the front of the criss cross part I used elements from the decoupage, embellishment and sentiment sections.
This CD is perfect for male card inspiration so why not create one of you own and join in with this month's Crafter Companion Masculine Challenge!

I also hope to enter this card in the Allsorts - Fancy Folds Challenge.

Anyway, back soon.
Best wishes and bye for now
Karen x